Hey guys!
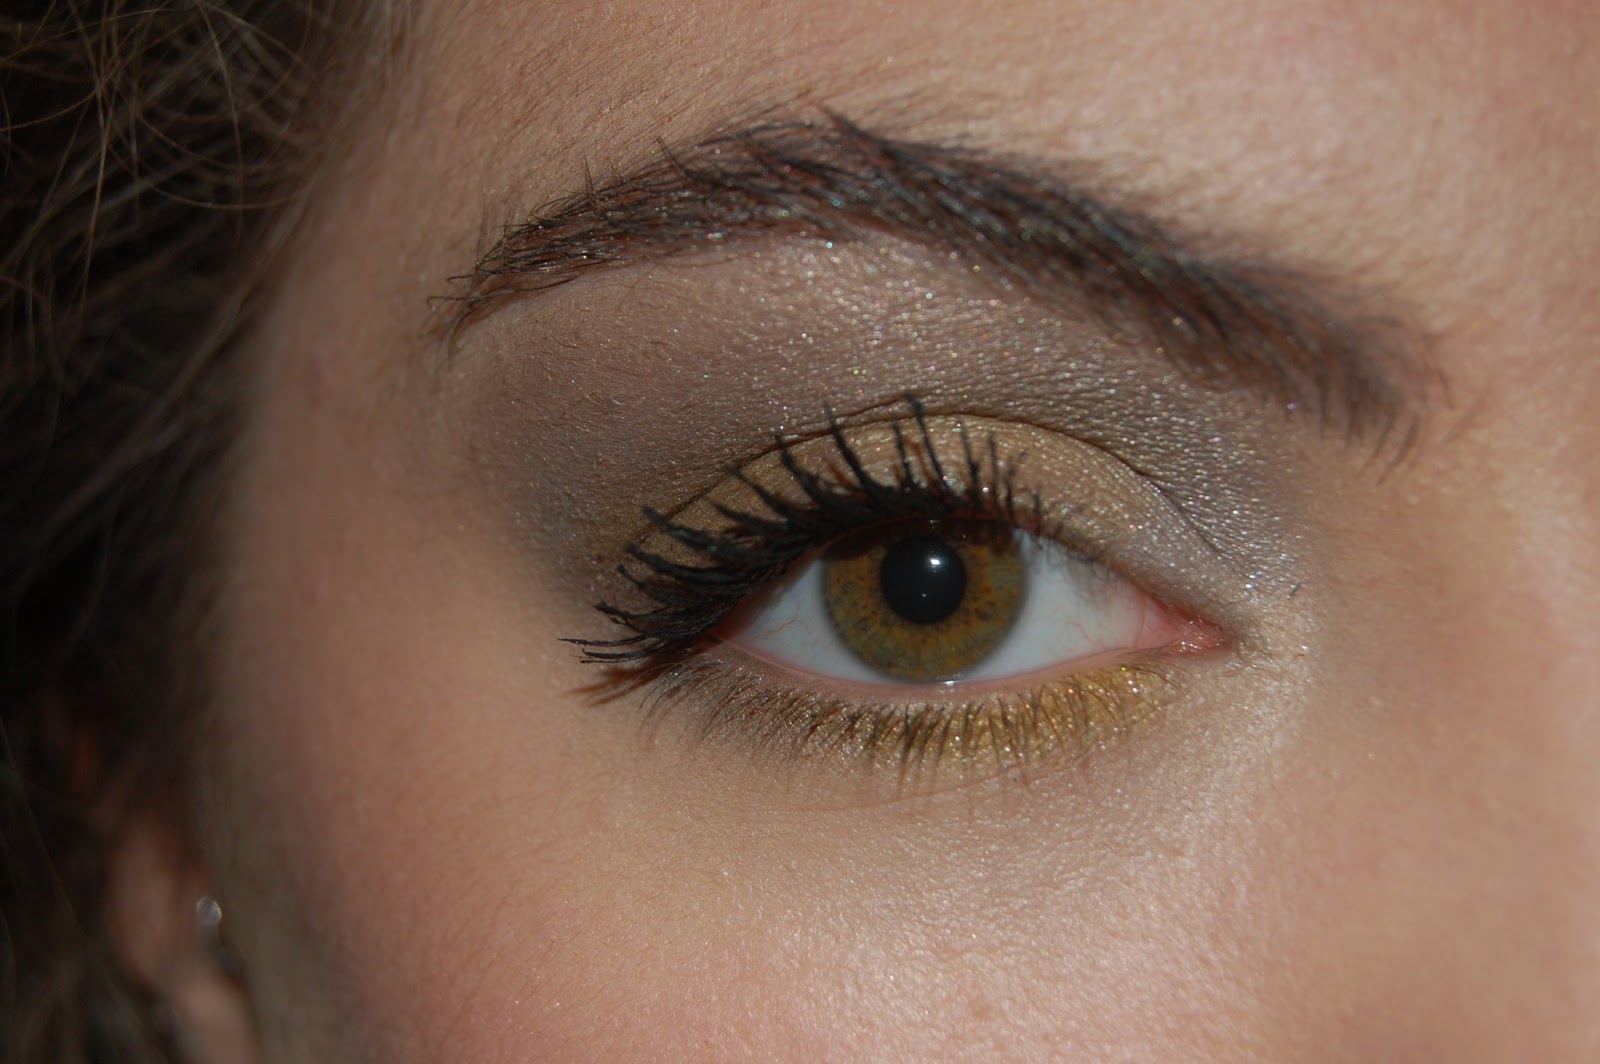
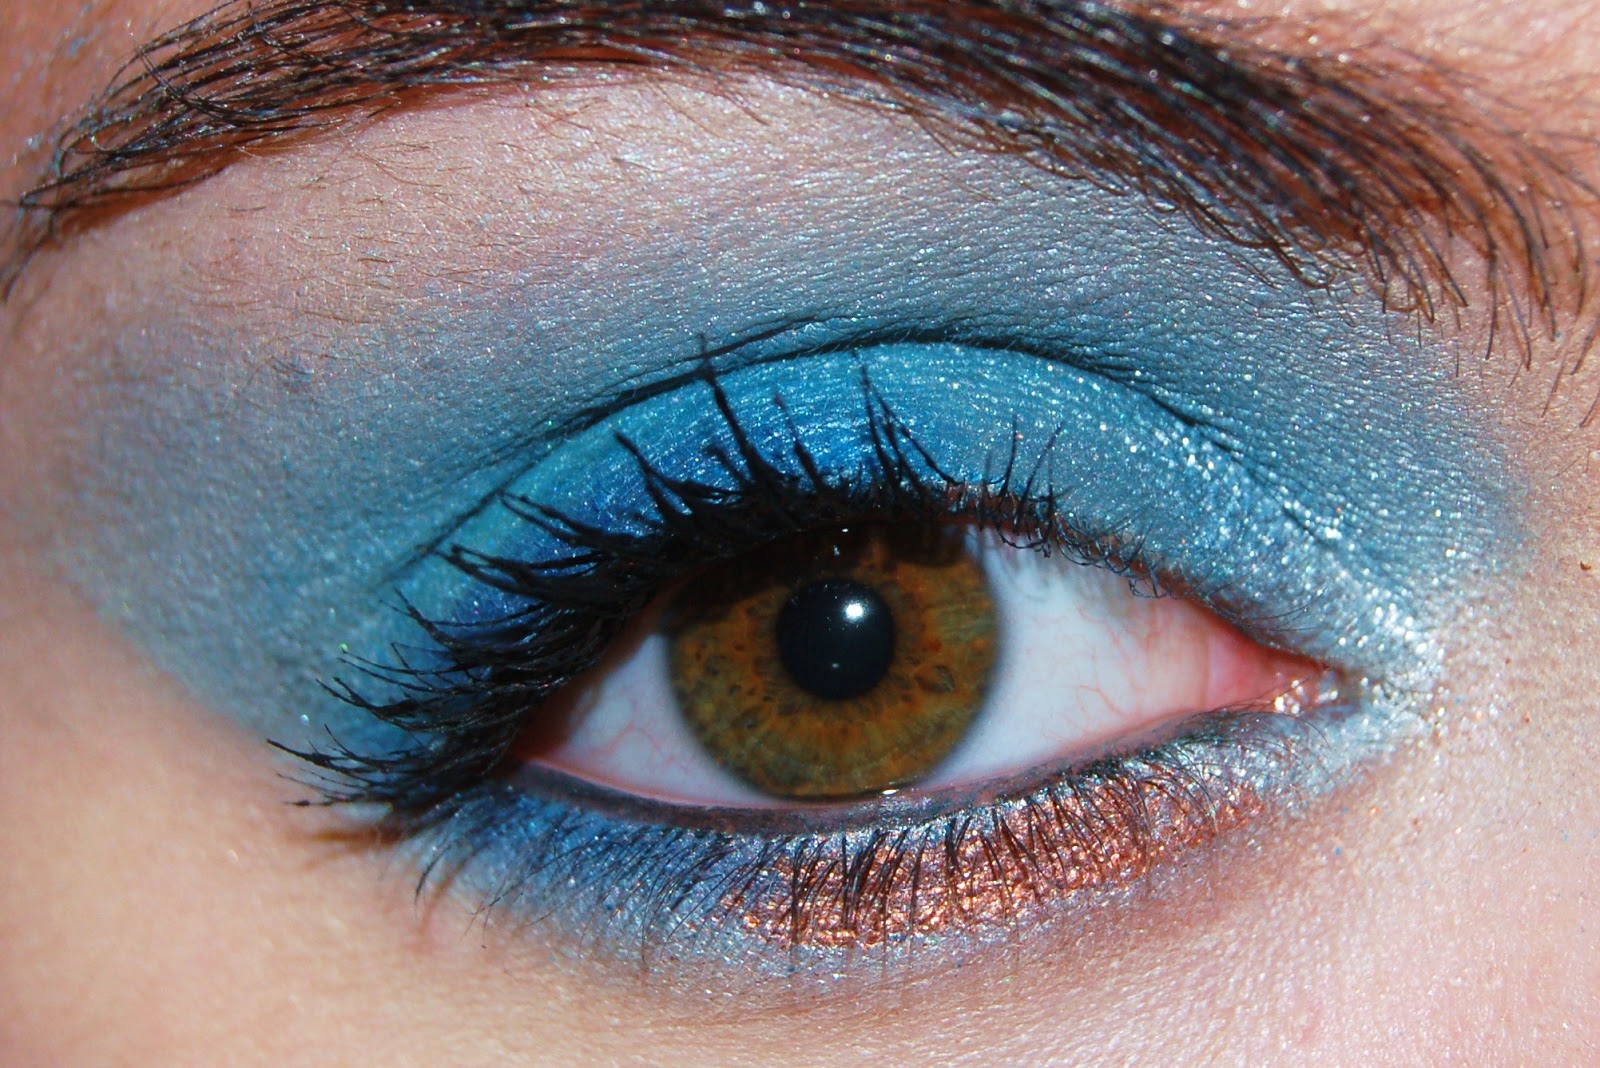
So todays look of the day is a purple gradient look, I have used 2 different purples to create this. A bright purple for the lid colour and then a midnight purple for the crease.
As usual I have undertoned it with pale gold as I like to keep eye looks on the warmer side - just as a little note, if you are pale it is always best to use warmer undertones other wise your eyes will look drawn and your face will look paler.
Hope you like it! Oh and even though you cant see, I have paired this eye look with a nude lip - in fact one of my new Rimmel London 'Apocalips' in 'Nude Eclipse'.
...
There we have it, I must say the pictures dont really do it justice as the purple stands out much more in real life...but you get the idea
C
X
My make-up world, reviews tips and make-up looks. A little insight to my world, so expect many 'Look of the Days' - Also follow me on twitter @1brushbeauty
Welcome to One Brush Beauty
OBB Where all are welcome, i write reviews, answer questions, give tips and advice on how to use the makeup that you have. OBB is really about easy yet beautiful make up, making you feel your best, and what products are out there to help you do that.
TTFN
C x
Thursday, 7 February 2013
Wednesday, 6 February 2013
Avon BB Cream Review
So for those of you who follow my twitter or have read my last couple of 'Look of the Day's' then you will know that I have been using Avon's ideal flawless BB cream instead of my YSL Teint Touche Eclat foundation for the past week.
My reason for doing this is I have been wondering about BB creams for a while now and wanted to try one out. I like Avon products and find them to be decently priced for what they are so I thought I would give it a try.
BB creams have been around for a while, first originating in Germany, but I became aware of them from the Japanese BB creams that have been around for a few years. They have been called many things; Blemish balm, Beblish balm or Beauty balm...Avons product is known as a beauty balm.
So this is how the product arrives...
Its a 30ml product so the same as an average foundation - which is good as this means it will last a while.
My reason for doing this is I have been wondering about BB creams for a while now and wanted to try one out. I like Avon products and find them to be decently priced for what they are so I thought I would give it a try.
BB creams have been around for a while, first originating in Germany, but I became aware of them from the Japanese BB creams that have been around for a few years. They have been called many things; Blemish balm, Beblish balm or Beauty balm...Avons product is known as a beauty balm.
So this is how the product arrives...
| Simple packaging |
| The product out of the tube |
The product is a lot thicker than foundation but seems to provide a similar coverage, it is light in its application and not heavy on the skin. It is also quite moisturising but needs a powder with it to stop it being overly shiny.
I went for the lightest shade 'ivory' as I am quite fair skinned. It matches my skin tone really well which is a real bonus as its often difficult buying from a catalogue or online where you cannot try the product before you buy it.
Straight away when applying it you can feel that it has fillers in it, so on application it gives a really even tone and texture to your skin. I did however have some difficulty applying it without having streaks - my perfected method is to apply with fingers and then use a stippling brush to blend in.
I also tried various forms of powder to set it, the usual loose powder that I use (Clinique loose powder) did not go well with the BB cream and I was very shiny after about 30 mins. So instead I tried my Lancome pressed powder and this seemed to create a lovely finish and last all day...HOWEVER...I was caught in the rain on one day and the result was not pretty...my face was left looking scaly...so I would not recommend wearing it in a downpour.
Over all I like the product and will continue using it on days where I want a lighter feel on my skin or just cant be bothered with foundation. It does take a bit of practice to get a good finish with it, but once you perfect this it lasts just as well as foundation and gives a great coverage.
Hope this is useful and it would be great to hear what BB creams you have tried and tested!
Muchos love
C
X
Sunday, 3 February 2013
Look of the Day
This is actually my look of the day for yesterday, I decided to go for a tangerine tinted eye as the orange colour tones go well with pale skin.
The eye makeup here is very subtle as I didnt want to go all out orange, but show you how you can incorporate bright colours in a subtle way into your makeup.
So here we are...
I used MAC's 'Orange' pressed eyeshadow for this, the trick is to apply very lightly and build up colour gradually in the areas that you want it, as applying heavy handed could make you look like youve had a fight with a Crayola box.
It may also be necessary to lightly line the upper lash line as I have with a black or deep brown eyeshadow.
Hope you like it :)
C
X
The eye makeup here is very subtle as I didnt want to go all out orange, but show you how you can incorporate bright colours in a subtle way into your makeup.
So here we are...
I used MAC's 'Orange' pressed eyeshadow for this, the trick is to apply very lightly and build up colour gradually in the areas that you want it, as applying heavy handed could make you look like youve had a fight with a Crayola box.
It may also be necessary to lightly line the upper lash line as I have with a black or deep brown eyeshadow.
Hope you like it :)
C
X
Friday, 1 February 2013
Look of the Day
Hi everyone!
So my look today is a subtle bronze/brown slight 'cut crease' eye, I used more pink gold undertones to keep it warm, i also brought the dark bronze shade in towards the upper corner of my eye on the inner brow bone to help give it subtle structure. I am also wearing (although you cant necessarily see) the new Avon BB cream instead of foundation - but since this is my first day wearing it I wont judge it quite yet!
Here we have it...
Any questions then please comment below or message me :)
C
X
p.s. a review of the BB cream will be up in a few days
So my look today is a subtle bronze/brown slight 'cut crease' eye, I used more pink gold undertones to keep it warm, i also brought the dark bronze shade in towards the upper corner of my eye on the inner brow bone to help give it subtle structure. I am also wearing (although you cant necessarily see) the new Avon BB cream instead of foundation - but since this is my first day wearing it I wont judge it quite yet!
Here we have it...
Any questions then please comment below or message me :)
C
X
p.s. a review of the BB cream will be up in a few days
Wednesday, 30 January 2013
Tuesday, 29 January 2013
How to...blue eyes pt 1
So if like me you are a bit of a trend spotter, you will have noticed the emergence of the blue eye. With models for Moshcino and Christian Dior donning the blue it is set to become a trend for the coming seasons.
But with this in mind...this look is so hard to pull off without looking a tad 80's...or like a school girl who has just raided her mums makeup bag for the first time. But this blue comeback is all about neon shades, all over coverage and being a bit too in your face. So just my look.
I have been experimenting with a few blue eye looks for you and this is a little 'how to' for those who like it that much they want to try it.
This is by far the most 'in your face' as I dare to go, but I will post up some more subtle looks at a later date for those who are interested (anyone??)
So...Here we go....
Here is a list of the products used:
But with this in mind...this look is so hard to pull off without looking a tad 80's...or like a school girl who has just raided her mums makeup bag for the first time. But this blue comeback is all about neon shades, all over coverage and being a bit too in your face. So just my look.
I have been experimenting with a few blue eye looks for you and this is a little 'how to' for those who like it that much they want to try it.
This is by far the most 'in your face' as I dare to go, but I will post up some more subtle looks at a later date for those who are interested (anyone??)
So...Here we go....
| Neon blue shabang!! |
Here is a list of the products used:
- Photoready Concealer - Revlon
- Sparkle sauce mixing medium - POP
- Icicle eyeshadow - First Cover
- Neon Blue powder eyeshadow - Models Own
- Bayou eyeshadow - First cover
- Sapphire gel eyeliner - Avon
- Phenomena liquid metal - Illamasqua
- Copper sparkle pigment - MAC
- Black Khol eyeliner - Models own
- Hypnose drama waterproof mascara in Black - Lancome
So heres how I did it...
- First you need to prime the eye - I just used my regular concealer, but urban decay or too faced have excellent eyeshadow primers that would work a treat here.
- Then I applied 'Icicle' a white eyeshadow to the whole lid and worked it up towards the brow bone.
- Then I used my mixing medium with the Neon blue powder eyeshadow to make a pigment and applied this to the lid. Staying away from the inner corner. I also applied a light line under my lower lashes.
- To add some depth to the eye I applied a mix of Bayou ( a darker blue) and Sapphire gel eyeliner to the upper lash line, but only on the outer third of the eye, I also used this on the lower lash line.
- I then added the two metallic highlights, a silver - for which I used Phenomena liquid metal in the inner corner of the eye, blending it into the rest of the lid making sure to take it up towards the brows. And for the lower lash line I used Copper Sparkle (this has to be used with a mixing medium) to the inner third of the lower lash line.
- After the copper has dried I blend the lower lash line, otherwise the copper would be in the limelight more than I wanted it to be. Then to finish the look I apply black khol to the lower and upper waterlines and apply one coat of mascara...and there we have it!
| The finished product!! |
So there we are, not as hard as you think, and really you could use this look/ technique for any bold colour, just as long you remember to blend and add depth.
If any one out there would like to see some more blue looks then don't hesitate to either comment below or message me and I will do my best to get more up here.
As always let me know what you think :)
C
X
Saturday, 19 January 2013
Nail trends...
So lately I've changed...
Not for the better nor for the worse (although my bank balance may disagree). But I am a complete convert to acrylic nails.
I have always done my own nails, and to be perfectly honest was always a dab hand at it. I have an archive of fantastic colours from brands that span time and space. But I was struck down by the draw of perfect looking nails with a sparkle that cannot be matched by polish alone.
It started about 6 months ago when I treated myself to these beauties for my brothers wedding.
They are real mother of pearl chips molded into the nail tip. I fell in love. There are endless options, and its with no doubt that I say there is something for everyone. But not only that, I have found that my nails can last nearly 8 weeks without needing to be either replaced or needing in-fills ( I have never needed them replaced, and you can have the tip changed with in-fills: this is always my method). I love having a little sparkle at my finger tips. And long gone are the days where acrylics were for chavs alone, you can look subtly glam for weeks, which is what every girl wants.
Here are some of my favorite:
I still take my time and care in my pedicures, so I still have a bit of my artistic flare on my toes, but to be perfectly honest, I dont have to worry about whether my nails match my outfit, or if they will chip. They aren't cheap to maintain (£20 a month on average, with a £35 start full set), but I enjoy being pampered for 45mins every 4-8 weeks and I feel I deserve that ;)
Glitter has made a real come back, and although its not always appropriate to adorn yourself, these nails are a lovely way of bringing sparkle in to your every day :)
Let me know what you think
C
X
Not for the better nor for the worse (although my bank balance may disagree). But I am a complete convert to acrylic nails.
I have always done my own nails, and to be perfectly honest was always a dab hand at it. I have an archive of fantastic colours from brands that span time and space. But I was struck down by the draw of perfect looking nails with a sparkle that cannot be matched by polish alone.
It started about 6 months ago when I treated myself to these beauties for my brothers wedding.
They are real mother of pearl chips molded into the nail tip. I fell in love. There are endless options, and its with no doubt that I say there is something for everyone. But not only that, I have found that my nails can last nearly 8 weeks without needing to be either replaced or needing in-fills ( I have never needed them replaced, and you can have the tip changed with in-fills: this is always my method). I love having a little sparkle at my finger tips. And long gone are the days where acrylics were for chavs alone, you can look subtly glam for weeks, which is what every girl wants.
Here are some of my favorite:
| These are the nails I am sporting at the moment, love the girly glitter. |
| Perhaps my favorites, these looked like I had opals on my fingertips, and they lasted for ages and only seemed to look better and better! |
| My Christmas nails, big specks of bold silver glitter, really festive and again long wearing. |
Glitter has made a real come back, and although its not always appropriate to adorn yourself, these nails are a lovely way of bringing sparkle in to your every day :)
Let me know what you think
C
X
Subscribe to:
Posts (Atom)